UX Interactive Media II |
List of Code Projects:
If your files are large I suggest sending then through wetransfer.com
|
Student Learning Outcomes:
By the end of this course you will be able to:
|
|
FIND THIS WEEK'S CLASS NOTES HERE
|
FIND HOMEWORK, FILES, HAND-OUTS AND KEYNOTES ON CANVAS
|
Class Notes
02/11 WEEK#4 Backgrounds
|
| ||
02/11 WEEK#4 Backgrounds
1. Work through the two flexbox assignments in the above files. The answer for the first assignment, "blue nav bar" is here: https://codepen.io/angela/pen/abOWwXQ
Second assignment, "coffee shop", has the code done but you will need to add a media query. If you want more a challenge, then add more mediaqueries, and play with flex: grow. 2. Finish up Aesop's fables. Submit next week, 3-5-2020. |
How do I see window size in Chrome? Open Chrome Dev tools(F12 or Control Click) While you are resizing, notice the top right corner displays a small notification showing the current window size which will disappear shortly. For small measuring: Mac built-in For screenshots and measuring select a region of the screen by pressing Command–Shift–4 and then hold the left mouse button down while dragging the mouse cursor on the screen. As long as you keep the mouse button pressed, you will be able to see the pixel size of your selection and use it to measure things on the screen. Try out a chrome extension: to help with picking colors. Also find one that resizes windows and resolutions. 600K users - Window Resizer 100K users - Resolution Test https://browsersize.com/ 2000K users- Colorzilla Eyedropper and Gradient tool 20K users - Pixel measurer and color dropper in one | ||||||
02/11 WEEK#4 Backgrounds
|
| ||
02/04 WEEK#3 Web Typography
01/28 WEEK#2 CSS Review
CLASS NOTES
Review HTML and SoloLearn lessons
Examine attribute tags and measurement.
Examine attribute tags and measurement.
<img src="http://www.sololearn.com/images/tree.jpg"
height="150px" width="150px"
border="1px" alt="" />
height="150px" width="150px"
border="1px" alt="" />
Links are also an integral part of every web page. You can add links to text or images that will enable the user to click on them in order to be directed to another file or webpage.
In HTML, links are defined using the <a> tag.
In HTML, links are defined using the <a> tag.
The target Attribute
The target attribute specifies where to open the linked document.
Giving a _blank value to your attribute will have the link open in a new window or new tab:
<a href="https://www.w3schools.com" target="_blank">Visit W3Schools</a>
The target attribute specifies where to open the linked document.
Giving a _blank value to your attribute will have the link open in a new window or new tab:
<a href="https://www.w3schools.com" target="_blank">Visit W3Schools</a>
Creating a Table
Tables are defined by using the <table> tag.
Tables are divided into table rows with the <tr> tag.
Table rows are divided into table columns (table data) with the <td> tag.
A border can be added using the border attribute:
<table border="2">
A table cell can span two or more columns:
<tr><td></br></td>
<td colspan=:3:></br></td></tr>
To make a cell span more than one row, use the rowspan attribute.
The method attribute specifies the HTTP method (GET or POST) to be used when forms are submitted (see below for description):
• When you use GET, the form data will be visible in the page address.
• Use POST if the form is updating data, or includes sensitive information (passwords).
POST offers better security because the submitted data is not visible in the page address.
<form action='url' method="GET">
<form action='url' method="POST">
The name attribute specifies a name for a form.
<form>
<input type="text" name="username" /><br />
<input type="password" name="password" />
</form>
<input type="radio" name="gender" value="male" />Male <br />
<input type="radio" name="gender" value="female" />Female <br />
<input type="submit" value="Submit" />
<form>
<input name="name" type="text" /><br/>
<input name="email" type="email" /><br/>
<textarea name="message" ></textarea>
<input type="submit" value="SEND" class="submit" />
</form>
<input name="name" type="text" /><br/>
<input name="email" type="email" /><br/>
<textarea name="message" ></textarea>
<input type="submit" value="SEND" class="submit" />
</form>
Up next is learning the box model and how to apply classes.
- inline vs block
- border, padding, margin
- html entities for those ampersands, trademarks, etc
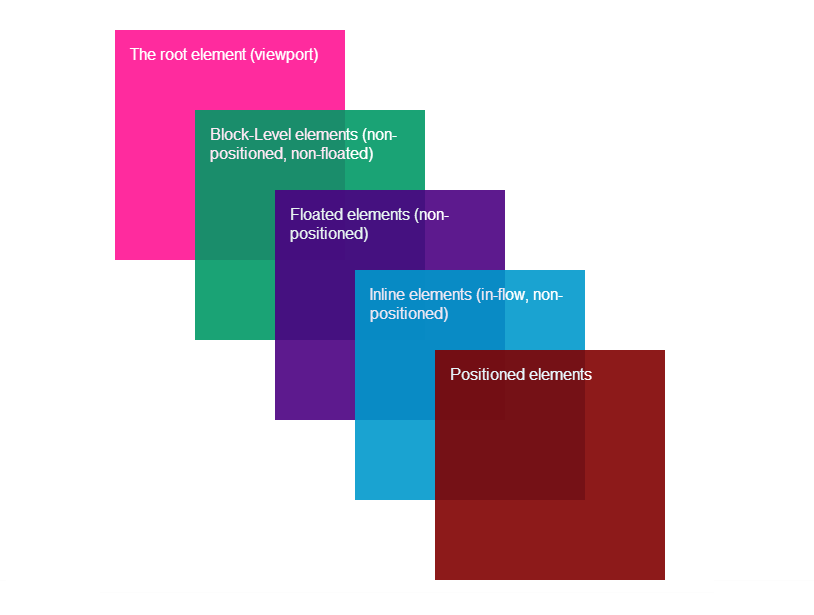
Types of Elements
In HTML, most elements are defined as block level or inline elements.
Block level elements start from a new line.
For example: <h1>, <form>, <li>, <ol>, <ul>, <p>, <pre>, <table>, <div>, etc.
Inline elements are normally displayed without line breaks.
For example: <b>, <a>, <strong>, <img>, <input>, <em>, <span>, etc.
The <div> element is a block-level element that is often used as a container for other HTML elements.
When used together with some CSS styling, the <div> element can be used to style blocks of content:
<html>
<body>
<h1>Headline</h1>
<div style="background-color:green; color:white; padding:20px;">
<p>Some paragraph text goes here.</p>
<p>Another paragraph goes here.</p>
</div>
</body>
</html>
Types of Elements
Other elements can be used either as block level elements or inline elements. This includes the following elements:
APPLET - embedded Java applet
IFRAME - Inline frame
INS - inserted text
MAP - image map
OBJECT - embedded object
SCRIPT - script within an HTML document
You can insert inline elements inside block elements. For example, you can have multiple <span> elements inside a <div> element.
Inline elements cannot contain any block level elements.
Cooper Hewitt Internship
https://www.cooperhewitt.org/internship-department-descriptions/?utm_source=Cooper+Hewitt+Master+List&utm_medium=email&utm_content=txt&utm_campaign=newsletter+0126
https://www.cooperhewitt.org/internship-department-descriptions/?utm_source=Cooper+Hewitt+Master+List&utm_medium=email&utm_content=txt&utm_campaign=newsletter+0126
How the Internet Works for Developers
https://www.youtube.com/watch?v=e4S8zfLdLgQ&ab_channel=LearnCode.academy
https://www.youtube.com/watch?v=e4S8zfLdLgQ&ab_channel=LearnCode.academy
| ux2_2_intro_to_css_link_syntax_cascade_directoried.pdf |
| ux2_2_exercise-_newyear-resolution.zip |
1/21 WEEK#1 Revisit HTML , UX Design Cycle
CLASS OVERVIEW
- introductions/ student questionnaire
- break times, vegas rules
- website, syllabus: i'm sick, you're sick/tardy/ late policies, wellness day, buddy-up, mid-term
- how to learn coding? online, tutorials, boot camp, school, meetups. why learn it?
- https://motherfuckingwebsite.com/ versus click site- clickclickclick.click
- coggle UX/UI ecosystem https://coggle.it/diagram/VecVrbqAZlA6ciVB/t/front-end-developer
Other No styling websites
https://text.npr.org/
https://justinjackson.ca/words.html
Text only sites (little styling, the beauty of hierarchy)
https://playbook.cio.gov/
https://www.fullstopnewparagraph.co.uk/
https://alantrotter.com/
https://text.npr.org/
https://justinjackson.ca/words.html
Text only sites (little styling, the beauty of hierarchy)
https://playbook.cio.gov/
https://www.fullstopnewparagraph.co.uk/
https://alantrotter.com/
LEARNING RESOURCES
- Sublime Text - our code editor
- Learn to Code HTML & CSS – Tutorials by Shay Howe
- Jon Duckett's book on HTML and CSS., and Javascript JQuery book
- For basic questions and demos: w3 schools. For more advance problems go to stack overflow. And there is always CSS Tricks and CoDrops tutorials.
- For royalty free images for backgrounds these are great: unsplash.com/ and thestocks.im a portal
- More advanced students: install package control for Sublime. Instructions here. Then install Live Reload to facilitate automatic refreshing.
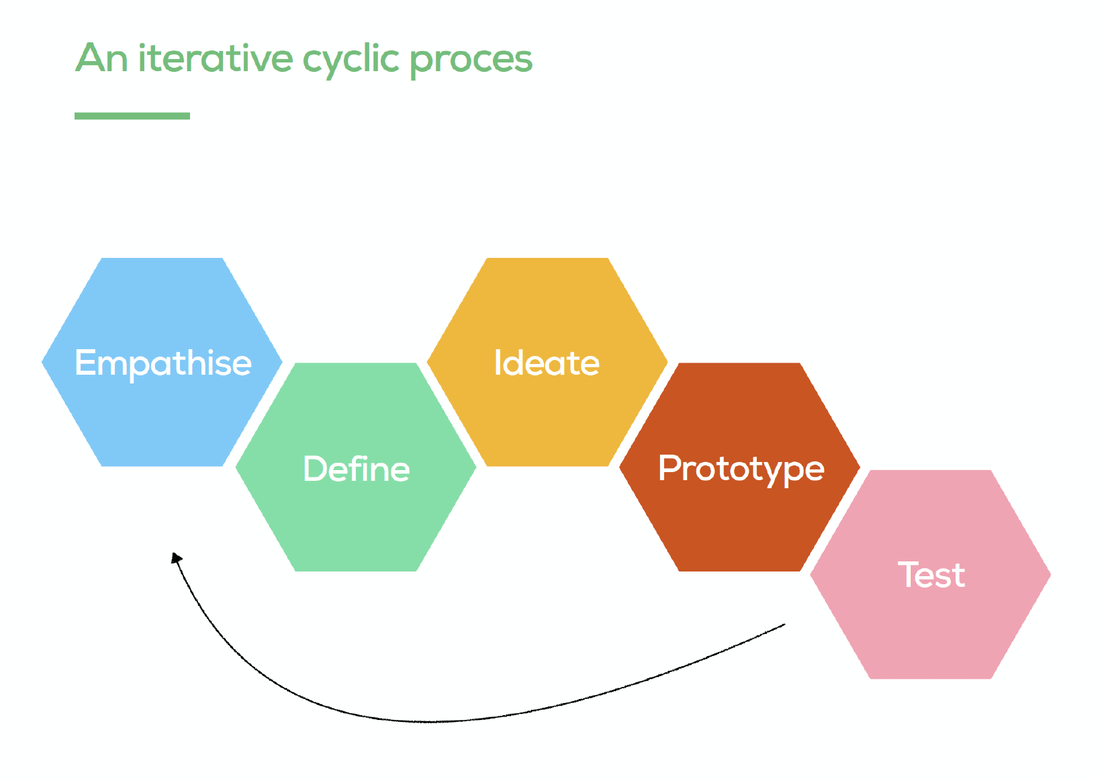
The Design Cycle from D School Stanford
|

|
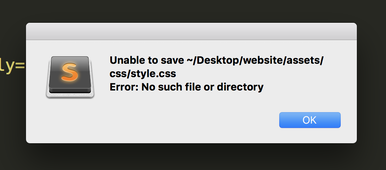
NOTE: IF you get an error like this, while using SublimeText it is most likely because you moved your folders/directories location while working on the file.
EASIEST SOLUTION Use 'File>SAVE AS...' to save your file again to the new location.
EASIEST SOLUTION Use 'File>SAVE AS...' to save your file again to the new location.
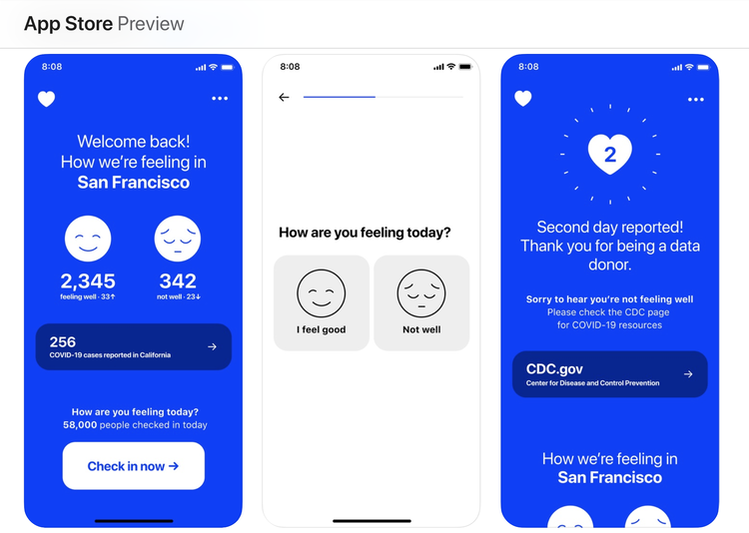
What your final project may look like
|
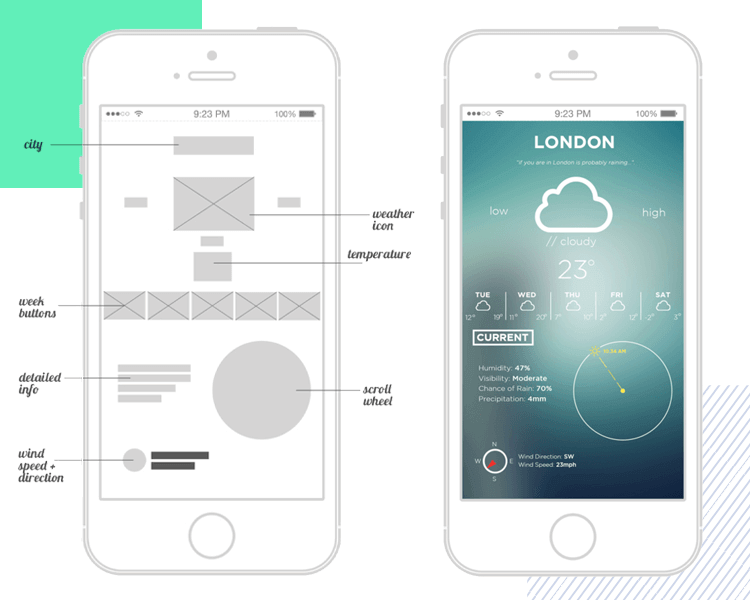
The left is a Wireframe, the right: is called either a Mockup or Prototype
|